







 GET QUOTE
Home / Editorial / How to Turn an Empty Wall Into Beautiful Storage

13 Sep 2026
How to Turn an Empty Wall Into Beautiful Storage
As we navigate the spatial complexities of modern domestic living, one of the most pressing structural challenges homeowners face is the perpetual struggle to maintain spatial order without sacrificing interior elegance. Residential floor plans, especially across urban UK settings, frequently suffer from horizontal congestion: freestanding chests, media consoles, and bookcases clutter walking corridors, creating a fragmented and chaotic atmosphere. Yet, in nearly every home, an expansive and underutilized resource remains hidden in plain sight: the vertical expanse of an empty wall. Repurposing a blank vertical plane into architectural custom storage unlocks remarkable spatial efficiency. When executed with precision joinery engineering, durable substrates, and intentional illumination, an empty wall shifts from a bare structural boundary into a refined focal point that enriches everyday living. In this comprehensive technical guide, we examine how to turn an empty wall into beautiful storage, analyzing structural wall substrates, load-bearing fastener mechanics, millwork scribing, and aesthetic design integration.
Key Takeaway: The Architectural Formula for Vertical Wall Storage
Converting a blank vertical wall into high-capacity architectural storage relies on three interconnected design principles: Volumetric Envelope Scribing: Extending joinery from floor to ceiling coving using 18mm–22mm Moisture-Resistant MDF (MR MDF) to recapture 100% of vertical volume; Mechanical Fastener Alignment: Anchoring directly into structural timber stud centers (at 400mm or 600mm intervals) or deploying heavy-duty toggle bolts to support static shelf loads up to 50kg per linear meter; and Dual-Zone Functionality: Allocating the lower 750mm–900mm to enclosed, push-to-open cabinetry for utilitarian storage while reserving upper tiers for open, illuminated display niches. This approach eliminates domestic clutter while adding a certified 4% to 8% capital valuation premium to residential properties under standards published by the Royal Institution of Chartered Surveyors (RICS).
The Importance of Vertical Wall Storage: Cognitive and Spatial Optimization
In modern interior architecture, vertical storage is fundamentally different from simply placing modular furniture against a wall. When storage is treated as a freestanding, detached object, it consumes valuable horizontal floor footprint, creates narrow pinch points in room navigation, and leaves unutilized margins above and around the unit that collect dust.
Conversely, integrating built-in wall storage works in harmony with the building's structural envelope. By distributing storage vertically across an entire elevation, you draw the eye upward, accentuating room height and leaving the central floor plane clear and unobstructed.
1. Psychological Relief and Visual Quiet
Environmental psychology demonstrates that visual disorganization acts as a continuous, low-grade cognitive stressor. When personal belongings, books, cables, and media equipment spill across tables and floor perimeters, the brain continuously processes these items as unresolved tasks.
Transforming a blank wall into a zoned storage system provides a dedicated, structured place for every household item. Closed cabinetry conceals utilitarian essentials behind flush, handleless panels, while open, illuminated shelving showcases curated objects of art and literature. This deliberate separation between display and concealment creates a calming visual rhythm that establishes an atmosphere of serenity throughout the home.
2. Recapturing Dead Footprint and Unusable Alcoves
Blank walls in UK residences—particularly Victorian and Edwardian chimney breasts, under-stairs corridors, and converted loft knee-walls—are rarely uniform. Standard modular retail units leave awkward 150mm to 300mm dead gaps on either side, which are too narrow for furniture yet large enough to collect debris.
Architectural joinery turns these dead alcoves into purposeful storage. Scribing cabinetry directly to out-of-square walls and uneven ceilings reclaims up to 35% to 40% more usable volumetric storage than standalone units.
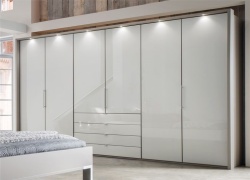
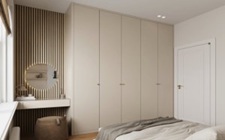
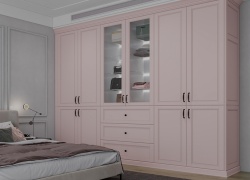
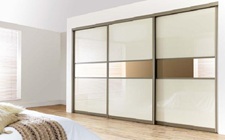
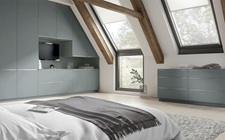
To see how custom casework transforms adjoining spaces like bedrooms and dressing suites, explore our specialized design portfolio for custom fitted wardrobes and our planning guide for bespoke wardrobes in Harrow.
Choosing the Right Storage Solution: System Typologies and Performance
Selecting the ideal storage system requires balancing the physical weight of stored goods, wall construction substrates, and the overall architectural style of your home.
| Storage System Typology | Structural Mounting Method | Maximum Dynamic Load Capacity | Volumetric Space Recovery | Aesthetic Integration |
|---|---|---|---|---|
| Architectural Built-In Joinery | Continuous floor baseplate & stud anchoring | 60kg – 100kg per shelf section | 100% (floor-to-ceiling & wall-to-wall) | Seamless, permanent architectural feature |
| Cantilevered Floating Shelves | Concealed internal steel rod brackets | 20kg – 35kg per mounting bracket | 40% – 55% (open vertical elevation) | Minimalist, lightweight, contemporary |
| Modular Twin-Slot Wall Tracks | Surface-mounted vertical steel standards | 40kg – 60kg per linear meter | 60% – 75% (adjustable modularity) | Utilitarian, mid-century or industrial |
| Recessed In-Stud Cavity Units | Fitted directly into 100mm timber studs | 15kg – 30kg per tier | 100% internal (zero floor projection) | Flush, discreet, highly streamlined |
| Freestanding Modular Bookcases | Gravity base with basic L-bracket wall tie | 15kg – 20kg (shelf deflection risk) | 50% – 65% (leaves gaps at top and sides) | Temporary, visible gaps and dust voids |
1. Architectural Built-In Cabinetry
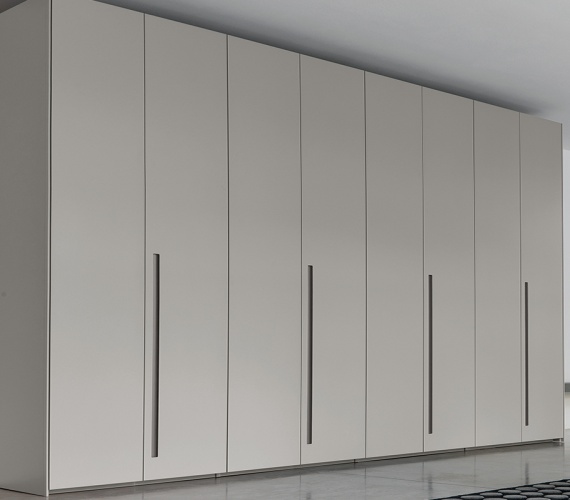
Full-height built-in joinery represents the gold standard of wall storage. Constructed from dense 18mm or 22mm Moisture-Resistant MDF (MR MDF) or hardwood veneers, built-in units are anchored securely into wall framing and floor joists.
This system allows for deep, enclosed lower cupboards (typically 450mm to 550mm deep) to store bulky household items, transitioning via an architectural waistline or stone countertop into shallower upper display shelves (250mm to 300mm deep). Because the entire assembly is scribed flush to the room's baseboards and ceiling coving, it reads visually as an integral part of the home's architecture.
2. Cantilevered Floating Shelving Systems
Floating shelves provide clean, modern visual appeal by eliminating visible brackets, corbels, or vertical side gables. However, because floating shelves rely entirely on cantilever physics, they demand careful installation.
High-specification floating shelves utilize concealed, heavy-duty steel backplates fitted with welded, knurled solid steel rods (typically 12mm to 16mm in diameter). These rods slide snugly into precision-bored channels inside a hollow-core or solid timber shelf (minimum 40mm to 50mm thick). The backplate must be fastened directly into structural wall studs to resist rotational cantilever torque when holding heavy books.
3. Recessed In-Wall Stud Cavity Niches
In modern homes featuring non-load-bearing timber or metal stud partition walls, the space between vertical studs is often hollow air. Skilled joiners can cut into the drywall layer between studs (typically spaced at 400mm or 600mm centers), framing out the internal 75mm to 100mm cavity with painted timber or oak linings.
These recessed niches provide functional storage for glassware, cosmetics, spice jars, or display art without protruding a single millimeter into the room's walking paths—making them ideal for narrow hallways, compact bathrooms, and small bedrooms.
To see how bespoke sliding mechanisms maximize space in tight corridors and dressing rooms, explore our technical guide on bedroom sliding doors.
Measuring, Load Mechanics, and Structural Fastening
The difference between a stable, long-lasting storage installation and a disastrous wall collapse comes down to load physics and structural fastener selection. Never rely on guesswork when securing heavy joinery to residential walls.
| Wall Substrate Type | Recommended Fastener Hardware | Drill Diameter & Setting Depth | Safe Working Load (Tensile / Shear) |
|---|---|---|---|
| Solid Masonry Brick / Blockwork | Heavy-duty nylon expanding Rawlplugs or multi-monti concrete screws | 8mm – 10mm drill / 60mm – 80mm embedment | 70kg – 120kg per fixing point |
| Timber Stud Framing (16-inch centers) | High-tensile countersunk timber lag screws (Grade 8.8) | 4mm pilot hole / 50mm – 75mm into solid stud | 80kg – 150kg per fixing point |
| Hollow Plasterboard (Between Studs) | Heavy-duty all-metal hollow wall anchors (Moly bolts) or spring toggles | 10mm – 12mm hole / expanding rear toggle plate | 25kg – 40kg maximum per fixing point |
| Historic Lath and Plaster Walls | Locate primary timber studs; use through-bolts with structural timber backing plates | Pre-drill through fragile lath / fasten into main studs | Variable (Avoid hollow lath anchorage completely) |
1. The Physics of Shelf Deflection: The FIRA Standard
According to testing standards established by the Furniture Industry Research Association (FIRA), shelf deflection—the visible sagging of a horizontal board under load—is governed by the "beam formula." The degree of bend increases exponentially with the span length ($L^3$) and inversely with board thickness ($T^3$).
To prevent shelving from bowing over time:
- Span Limits: Standard 18mm MR MDF shelves should not exceed an unsupported horizontal span of 700mm to 800mm under heavy book loads (30kg/m). For wider spans up to 1000mm or 1200mm, increase shelf thickness to 25mm–30mm, or reinforce the front edge with a 25mm solid hardwood lipping.
- Hardwood Lipping: Gluing and biscuit-jointing a 20mm × 25mm solid oak or ash edge to the front of an MDF shelf dramatically increases its stiffness, virtually eliminating visible sag under full loads.
2. Precision Diagnostic Laser Surveying
Before cutting timber or procuring cabinetry components, complete a multi-point laser survey:
- Measure the width of the wall at floor level, mid-wall (1200mm), and ceiling height. Walls in older properties frequently bow inward or outward by 15mm to 35mm.
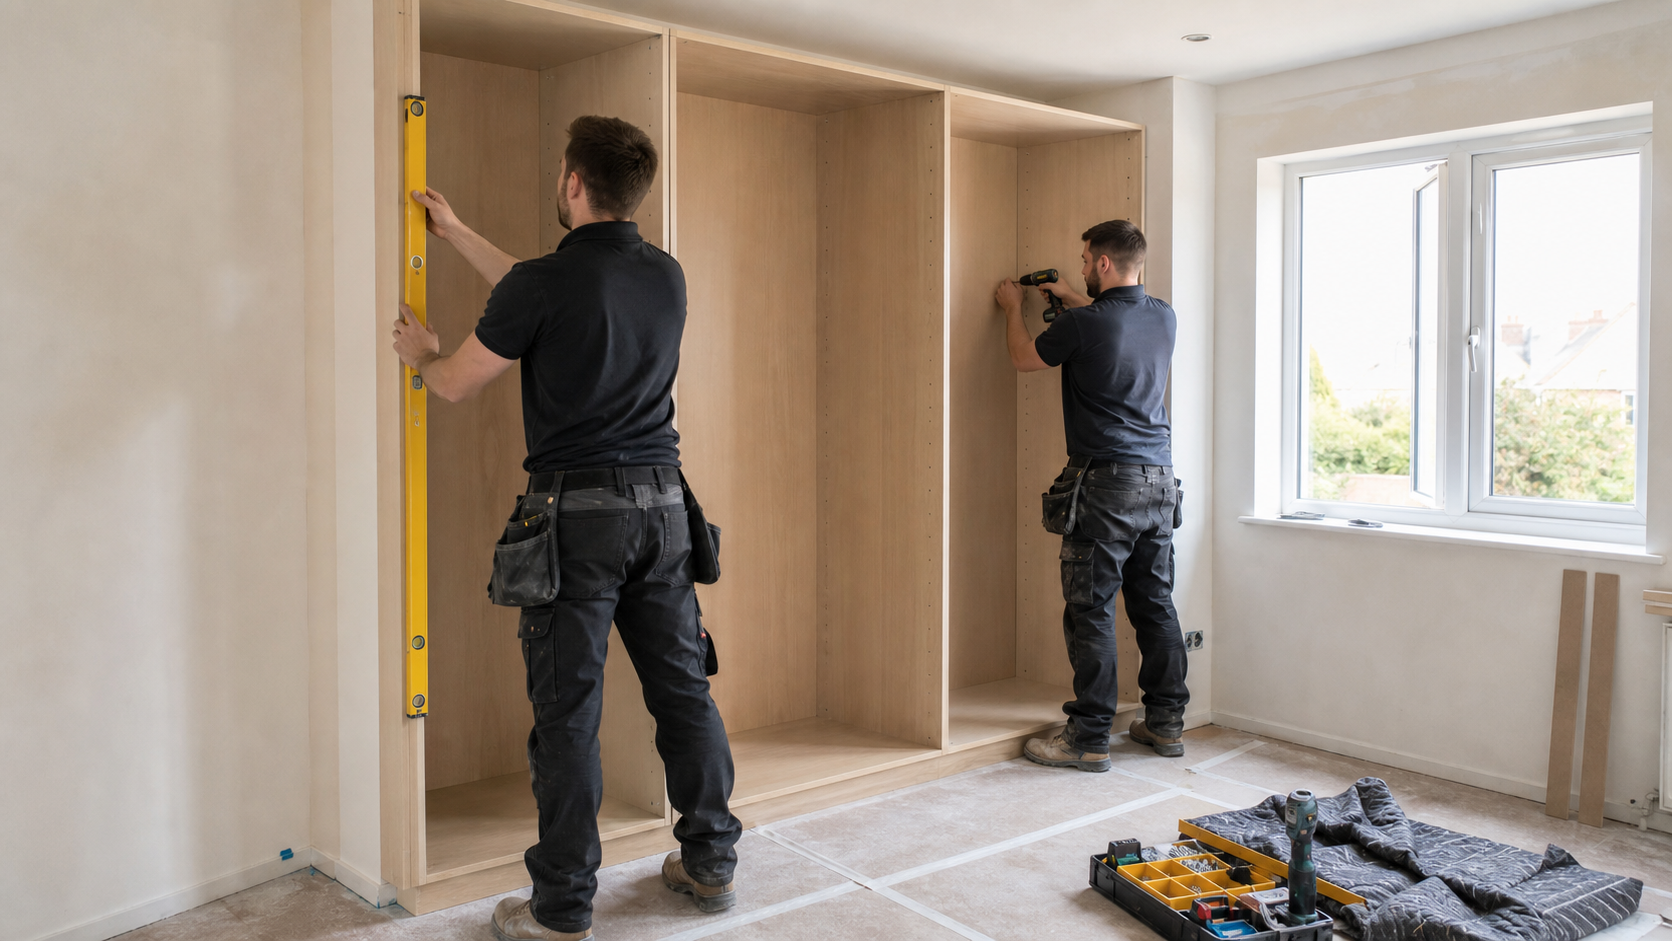
- Check wall plumb using a 1200mm digital spirit level. Walls that lean out of plumb require custom scribe margins (typically 25mm to 35mm) that master carpenters hand-plane on site to ensure the cabinet face remains plumb.
- Use an electronic stud finder to identify internal timber framing, live electrical cables, and concealed copper pipework before drilling any pilot holes.
"A wall storage installation is only as strong as its connection to the building framing. Fastening directly into structural timber studs or solid masonry ensures the casework carries heavy static book loads for decades without risk of pull-out."
— British Woodworking Federation (BWF) Installation Standards Review
To explore how bespoke joinery techniques are applied across other architectural storage zones, review our technical overview of fitted wardrobes design principles and our specialist guide to fitted kitchens in Harrow.

10 Architectural Design Ideas to Turn an Empty Wall Into Beautiful Storage
Transforming a blank wall into an intentional, high-capacity feature requires combining functional cabinet layouts with refined materials and modern hardware:
1. The Floor-to-Ceiling Classical Library Wall with Rolling Ladder
Transform a tall, expansive reception room wall into a traditional library. Incorporate vertical fluted stiles, adjustable shelf standards, deep base cupboards for archives, and a top-mounted solid brass or black steel rolling ladder rail. This turns book storage into an impressive focal point while ensuring safe, easy access to high-level shelves.
2. The Integrated Media Wall with Acoustic Oak Slat Cladding
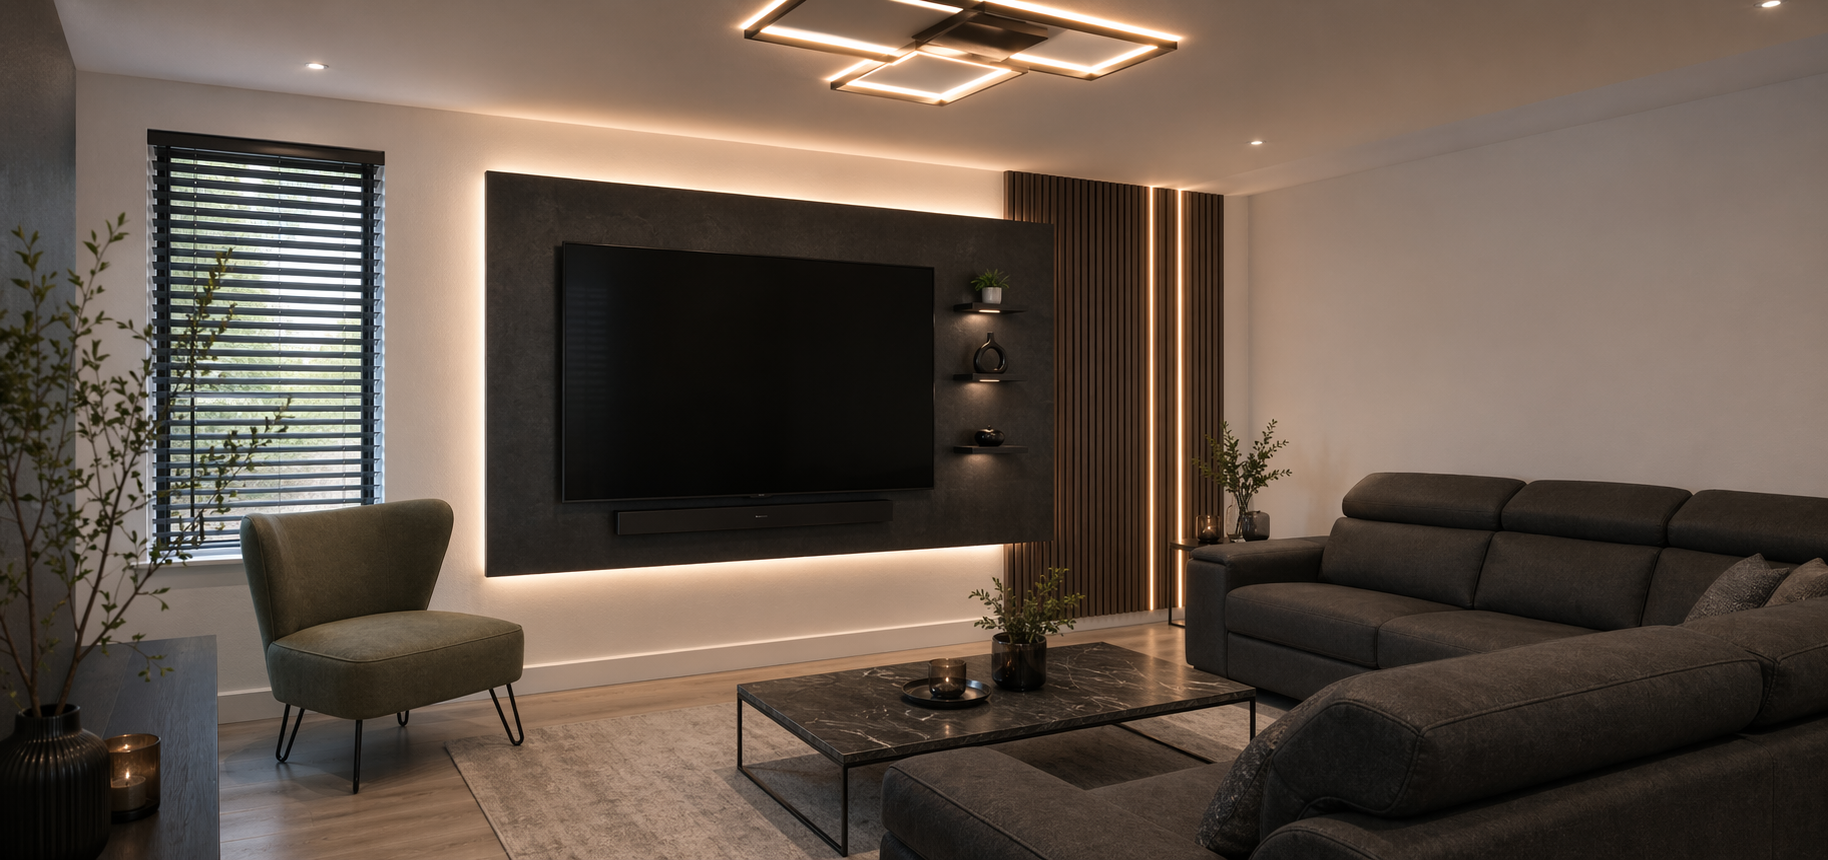
Conceal entertainment technology, soundbars, and games consoles within a flush architectural feature. Mount the television in a central recess flanked by vertical oak slats over recycled PET acoustic felt. The acoustic backing absorbs room echoes, while cantilevered base credenzas conceal AV equipment and messy power cables out of sight. Explore our specialized local installations for bespoke media walls in Harrow.
3. Asymmetrical Floating Block Credenzas
For a minimalist, contemporary living space, install asymmetrical wall-hung storage modules. Pair an extended low floating drawer unit (measuring 2500mm long by 350mm high) with offset open cubbies above, leaving open wall space for statement artwork and creating a sense of weightlessness.
4. Chimney Alcove Symmetrical Built-Ins with Arched Facades
In Victorian and Edwardian living rooms with a central projecting chimney breast, frame the flanking alcoves with custom built-ins featuring softly radiused or arched top profiles. Scribing the face frames flush to the chimney returns creates a balanced, classical composition that highlights the room's heritage proportions.
5. Concealed Bi-Fold Pocket-Door Workstation
In open-plan living rooms or guest suites, hide a complete executive home office behind an innocent-looking panel wall. Bi-fold pocket doors slide back into side carcasses when open, revealing an ergonomic solid timber desk, task lighting, monitor mounts, and document storage, tucking away completely at the end of the day.
6. Floating Cantilevered Breakfast Bar and Pantry Wall
In dining alcoves or open kitchen transitions, transform a bare wall into an auxiliary pantry and coffee station. Combine full-height narrow larders (350mm deep) with an open timber counter, integrated stemware racks, and concealed LED strip lighting to keep everyday coffee machines and mugs off primary kitchen worktops.
7. Low-Profile Corridor Shoes and Outerwear Millwork
Narrow entrance hallways often suffer from coat and shoe pile-ups. Build a continuous 250mm shallow wall storage unit featuring angled pull-down shoe drawers, push-to-open coat bays, and an integrated upholstered seating bench to keep walkways open and uncluttered.
8. Recessed Illuminated Display Niches with Natural Stone Insets
Create focal points within stud partition walls by forming recessed cubbies backed with book-matched marble or textured quartzite slabs. Illuminated by warm, low-glare 2700K LED coves, these niches elevate art and ceramics while requiring zero floor space.
9. Workshop-Grade French Cleat Modular Wall Systems
For dynamic family spaces, craft studios, or home offices, install an architectural French cleat wall made from high-grade birch plywood. The interlocking 45-degree horizontal timber rails allow shelving units, desktop boxes, and acoustic panels to be rearranged effortlessly as storage needs evolve.
10. Biophilic Green Storage Wall with Integrated Planters
Combine custom book shelving with integrated waterproof plant troughs fitted with passive sub-irrigation drainage. Combining cascading indoor plants (such as Devil's Ivy or Boston Ferns) with natural timber shelving cleans indoor air while introducing calming biophilic textures to the room.
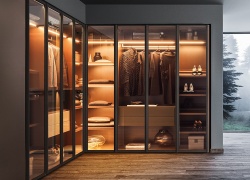
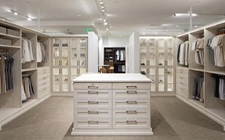
To examine how custom cabinetry integrates into modern cooking and living environments, explore our contemporary portfolio for modern kitchens in Harrow and read our overview of luxury walk in wardrobes.
DIY vs. Professional Storage Installation: Cost and Structural Analysis
Homeowners often weigh the immediate cost savings of a self-built DIY project against the precision and longevity of commissioning professional architectural joinery.
| Evaluation Parameter | DIY / Flat-Pack Modular Approach | Bespoke Professional Joinery |
|---|---|---|
| Typical Capital Outlay | £300 – £1,500 (materials & personal tools) | £3,000 – £9,000+ (full custom fabrication) |
| Carcass Core Strength | 15mm standard particleboard / chipboard | 18mm–22mm high-density MR MDF or birch ply |
| Tolerances & Scribing | Noticeable gaps or wide blank filler strips | Laser-scribed to wall contours within ≤1.0mm |
| Structural Load Rating | Light-to-medium (risk of bracket pull-out) | Commercial-grade (anchored directly to framing) |
| Operational Lifespan | 3 to 7 years before mechanical loosening | 25+ years (repairable, resprayable casework) |
| Property Equity Impact | £0 (classified as temporary personal chattel) | Certified 4% to 8% capital valuation uplift |
When DIY Is Appropriate
A DIY approach works well for straightforward, low-risk storage updates:
- Mounting modular track systems inside utility rooms, garages, or pantries where exposed steel standards are acceptable.
- Installing pre-fabricated floating display ledges on solid masonry walls to hold framed family photographs and light decorative objects (under 15kg).
- Assembling standard modular bookcases within flat, square rooms that do not require complex scribing around baseboards or cornices.
When Professional Architectural Joinery Is Essential
Commissioning professional cabinetmakers is essential when:
- Building floor-to-ceiling casework across uneven period plaster walls where seamless, hand-planed scribing is required.
- Constructing high-load cantilevered floating cabinetry that demands concealed structural steel bracket fabrication.
- Integrating hidden electrical channels, sub-surface wireless charging pads, or automated multi-circuit LED task lighting.
- Maximizing long-term property equity prior to an official mortgage revaluation or property sale.
To inspect material finishes, soft-close hardware, and door profiles in person, plan a visit to our West London fitted cabinetry showroom, or review our company heritage on our about us page.
Materials, Substrates, and Finishes for High-End Wall Storage
The everyday durability, tactile quality, and visual refinement of built-in storage depend directly on the structural substrates and surface coatings selected during fabrication.
1. Moisture-Resistant MDF (MR MDF) vs Standard Core
Standard mass-produced furniture uses low-density particleboard covered in thin paper foils. This material absorbs ambient room humidity easily, leading to swollen edges, stripped screw pockets, and sagging shelves under normal use.
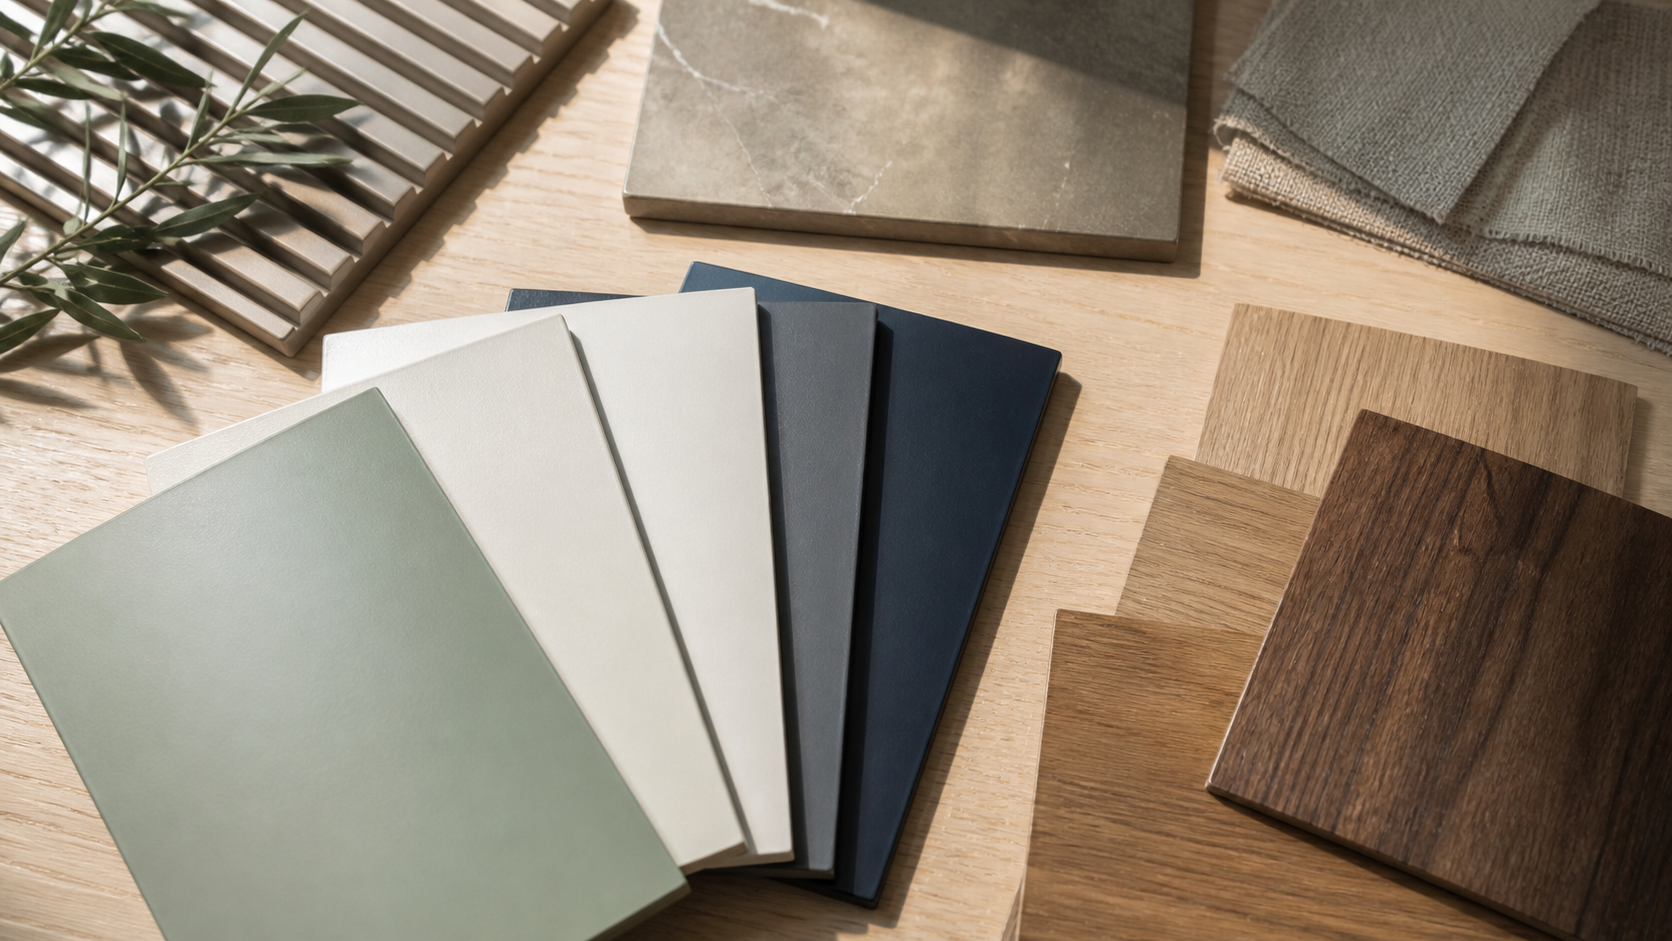
Architectural custom joinery uses 18mm or 22mm Moisture-Resistant Medium-Density Fiberboard (MR MDF) or multi-laminate birch plywood. Manufactured under high hydraulic pressure with moisture-repelling green resins, MR MDF provides exceptional screw-holding strength, dimensional stability, and a glass-smooth surface for spray lacquering.
2. Natural Timber Veneers vs Melamine Foils
While synthetic melamine foils imitate wood patterns using repeating photographic prints, real architectural joinery employs natural crown-cut or quarter-cut timber veneers:
- European White Oak: Celebrated for its tight, prominent grain, visual warmth, and high resistance to impact dents.
- American Black Walnut: Delivers rich chocolate undertones and elegant grain movements, ideal for luxury studies and executive living rooms.
- Hardwax Oil Finishes: Micro-porous natural oils (such as Osmo Polyx) penetrate deep into the wood grain, protecting the timber from water rings and stains while preserving its natural open-pore texture.
3. Durable Polyurethane Spray Lacquers
For painted cabinetry, components should be finished inside climate-controlled, dust-free spray booths using multi-coat polyurethane lacquers:
- Apply high-build barrier primers that seal MDF edges, eliminating porosity and micro-pitting.
- Finish with dual-pack polyurethane topcoats in dead-matte (5% sheen) or smooth satin (20% sheen) finishes. Polyurethane lacquers form a hard, cross-linked chemical barrier that resists scuffs, household cleaning chemicals, and yellowing from UV light.
To explore ready-to-order modular joinery components, browse our furniture ranges via Xeeni Buy Online and read verified feedback on our client reviews hub.
Master Technical Checklist: Planning and Installing Wall Storage
Use this phased architectural checklist to audit, design, and deliver a custom wall storage installation:
Phase I: Structural Diagnostics & Surveying
- Record wall lengths, vertical heights, and corner angles using a digital laser distance meter and 1200mm digital level.
- Identify wall substrate construction: solid masonry brickwork, timber studs (400mm/600mm centers), or hollow plasterboard.
- Locate concealed utilities (electrical wiring, plumbing risers, and heating conduits) using an electronic multi-scanner.
- Calculate total planned static load (books, equipment, display objects) to specify appropriate fastener sizes.
Phase II: Joinery Specification & Carcass Engineering
- Specify 18mm or 22mm Moisture-Resistant MDF (MR MDF) or multi-laminate birch plywood for all structural shelves.
- Limit unsupported horizontal shelf spans to a maximum of 750mm to 800mm to prevent visible sagging under load.
- Design a 20mm–30mm integrated scribe margin along perimeter face frames for hand-planing on site.
- Select commercial-grade concealed soft-close hinges and undermount drawer slides rated for 40kg–60kg loads.
Phase III: Mechanical Installation & Finishing
- Anchor base cabinets securely to floor joists and wall studs using heavy-duty timber lag screws or masonry anchors.
- Install concealed steel rod brackets for floating shelves, anchoring directly into structural wall studs.
- Route internal channels for concealed warm 2700K LED strip lighting profiles and magnetic reed door sensors.
- Apply durable, low-VOC polyurethane spray lacquers or natural hardwax oils to seal all surfaces.
Transform Your Empty Wall with Bespoke Joinery
Ready to turn your empty wall into an organized, high-capacity architectural feature? Schedule a free 3D design consultation with our senior CAD specialists to receive an itemized proposal and tailored layout plan.
Book Your Design ConsultationFrequently Asked Questions
What are the primary benefits of turning an empty wall into built-in storage?
Converting an empty wall into architectural built-in storage reclaims up to 100% of vertical volumetric capacity, clears floor circulation paths, reduces psychological clutter, and provides an estimated 4% to 8% capital valuation premium upon residential property resale.
How do I choose between floating shelves, modular systems, and custom built-in cabinetry?
Choose floating shelves for display and light loads under 25kg; select modular track systems for flexible utility zones like pantries or laundry rooms; and commission custom built-in cabinetry for heavy static loads, seamless floor-to-ceiling aesthetics, and concealed storage.
What wall fasteners are required for heavy-load wall-mounted storage?
In hollow plasterboard stud walls, fixings must penetrate directly into timber studs using heavy-duty lag screws or utilize spring toggle anchors rated for 30kg–50kg per fixing point. In solid masonry brick walls, use expanding nylon Rawlplugs or chemical anchor resin bolts.
How do I prevent floating shelves from sagging over time?
Prevent shelf deflection by adhering to the FIRA standard span rule: limit unsupported 18mm board spans to a maximum of 700mm–800mm, insert solid hardwood front lippings or internal steel rod armatures, and utilize high-density 22mm–25mm MR MDF or solid hardwood slabs.
How much does it cost to build a custom wall storage unit in the UK?
Costs range from £800 to £2,000 for simple floating alcove shelving configurations, and from £3,000 to £9,000+ for comprehensive full-height bespoke library walls, media centers, or integrated cabinetry suites.
Can I install wall storage in narrow corridors without blocking walkways?
Yes, by utilizing shallow-depth joinery (150mm to 250mm deep), cantilevered floating base consoles, and recessed sliding or push-to-open doors, maintaining the mandatory 750mm–900mm primary walking corridor clearance.